6
Activate image: "Interno sfumato", Edit - Copy
Edit – Paste as new layer on your working area
[If you use other material, to create "Gradient
Interior", you must:
open the file, which you chose as the internal
environment, and which you pasted into the selection in
point 1; resize 80%, "all layers" selected
Layers, new image mask layer, and use the "20-21" mask
that I attached in the material
Merge group and you will have the image as "Interior
shaded".]
7
Objects, align, top;
for previous versions of the program: activate Pick tool
(K), moves the image to the center of the top edge of
the canvas; click any other tool to deactivate
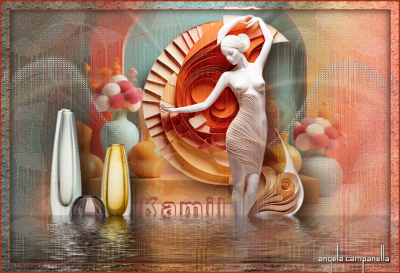
9
Activate image: "KamilTube-1233.png",
Image, resize as stamp
adjust, sharpness
[if you are using another tube, the height must be 600
pixels, the width will come automatically]
Edit - Copy
Edit – Paste as new layer on your working area
10
Objects, align, top;
for previous versions of the program: activate Pick tool
(K),
position x 264, position Y 000, click any other tool to
deactivate
12
Layers - New raster layer-
Flood fill tool - fill with the light foreground color
Layers-new mask layer-from image-from and select:
Narah_Abstract039
layers-merge-merge group-
Effects - 3D effects – Drop shadow: 0, 0, 100, 40 color:
background color
layer palette: Blend mode: soft light;
13
Choose another color from your tube
change the foreground color to this color: mine is green
#6FA7A6
Layers - New raster layer-
Flood fill tool - fill with the light foreground color
layers-new mask layer-from image-from and select:
Narah_mask_Abstract272.jpg
layers-merge-merge group
Effects - Edge Effects - Enhance more
16
Activate image: "KamilTube-776.png",
Image, resize 80% - resize all layers not checked
adjust, sharpness
Edit - Copy
Edit – Paste as new layer on your working area
position as per the final result
19
Layers - New raster layer-
Selections – Select all
Activate image: "fontana.png", Edit - Copy, Edit - paste
Into Selection
Selections – Select None
20
eraser tool (settings stamp), delete the part
highlighted by the circle
the woman's face will be clean
layer palette "fontana" Blend mode: soft light; opacity
38;
21
Layer "fontana"
Effects - Mura's Seamless - Emboss at Alpha - standard
settings
Effects - Edge Effects - Enhance more
Effects - 3D effects – Drop shadow: 0, 0, 100, 1; color:
background color
25
Activate image "Kamil.png" Edit - Copy
Edit – Paste as new layer on your working area
pick tool, position x 167, Y 432, otherwise place it of
your choice
the tutorial is finished
sign, save in pspimage, export to jpg compression 1
Angela Campanella 08:08 30/11/2023